You have about eight seconds to make a Solana Beach buyer feel the light, the view, and the breeze. That first impression sets the tone for every showing and photo. If you want your coastal listing to stand out, staging should highlight indoor-outdoor flow, clean sightlines to the ocean, and a relaxed, low-maintenance lifestyle. In this guide, you’ll get a room-by-room plan, a simple 2-3 week prep timeline, and pro coordination tips tailored to Solana Beach. Let’s dive in.
What Solana Beach buyers expect
Solana Beach buyers come for ocean views, walkable streets, and an easy indoor-outdoor lifestyle. They respond to open sightlines, neutral palettes, and outdoor spaces that feel like an extension of the living room. Materials and finishes that stand up to marine air and salt exposure matter.
Buyer needs can vary. Some look for a full-time residence, others want a second home or an investment property. No matter the profile, the same principles apply: highlight light and views, show functional storage for beach gear, and keep maintenance simple.
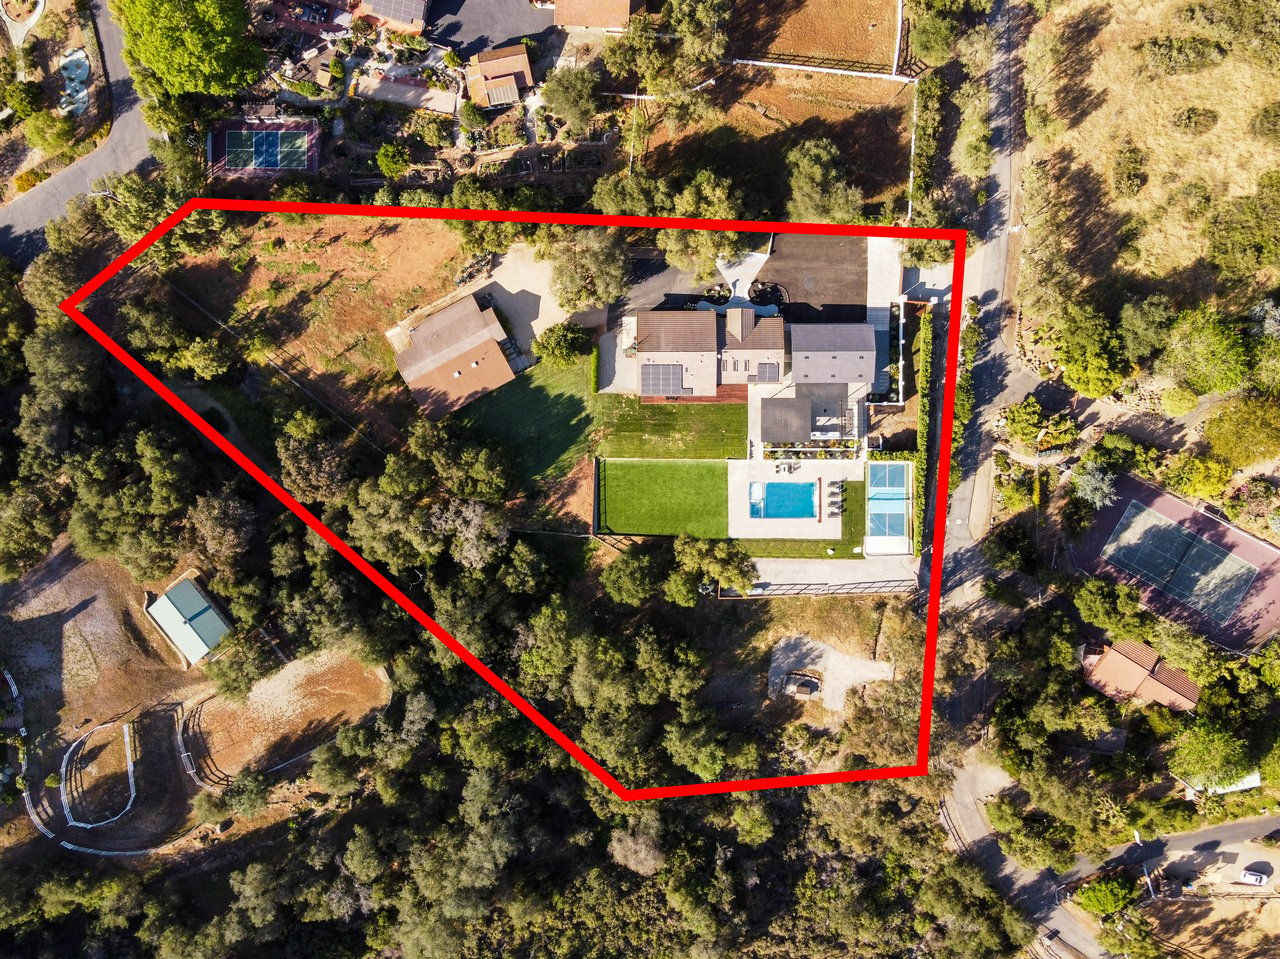
Always confirm local details before showings. Check HOA rules and any city requirements for signage, parking, vendor access, and drone use if you plan aerial photos. If the property is used as a short-term rental, verify your disclosures and any staging implications.
Set your coastal foundation
Start with a light, neutral base. Soft whites, warm greiges, and pale sand tones keep the focus on light and views. Add restrained accents like muted navy, sea-glass green, or coral for interest.
Choose texture over busy patterns. Woven rattan, seagrass, jute, linen, and textured ceramics read coastal without stealing attention from the windows. Keep scale in mind so rooms feel open and circulation is clear.
Plan for durability. Salt air and humidity call for performance fabrics, powder-coated metals, and other resilient materials. Keep window treatments minimal so light pours in and the horizon stays the star.
Room-by-room staging guide
Entry and foyer
Your entry should lead the eye toward the main living area or view. Use minimal, functional pieces like a slim console, mirror, and a small bench. An attractive basket for flip-flops and a couple of discreet hooks hint at beach-friendly storage without clutter.
Living room and great room
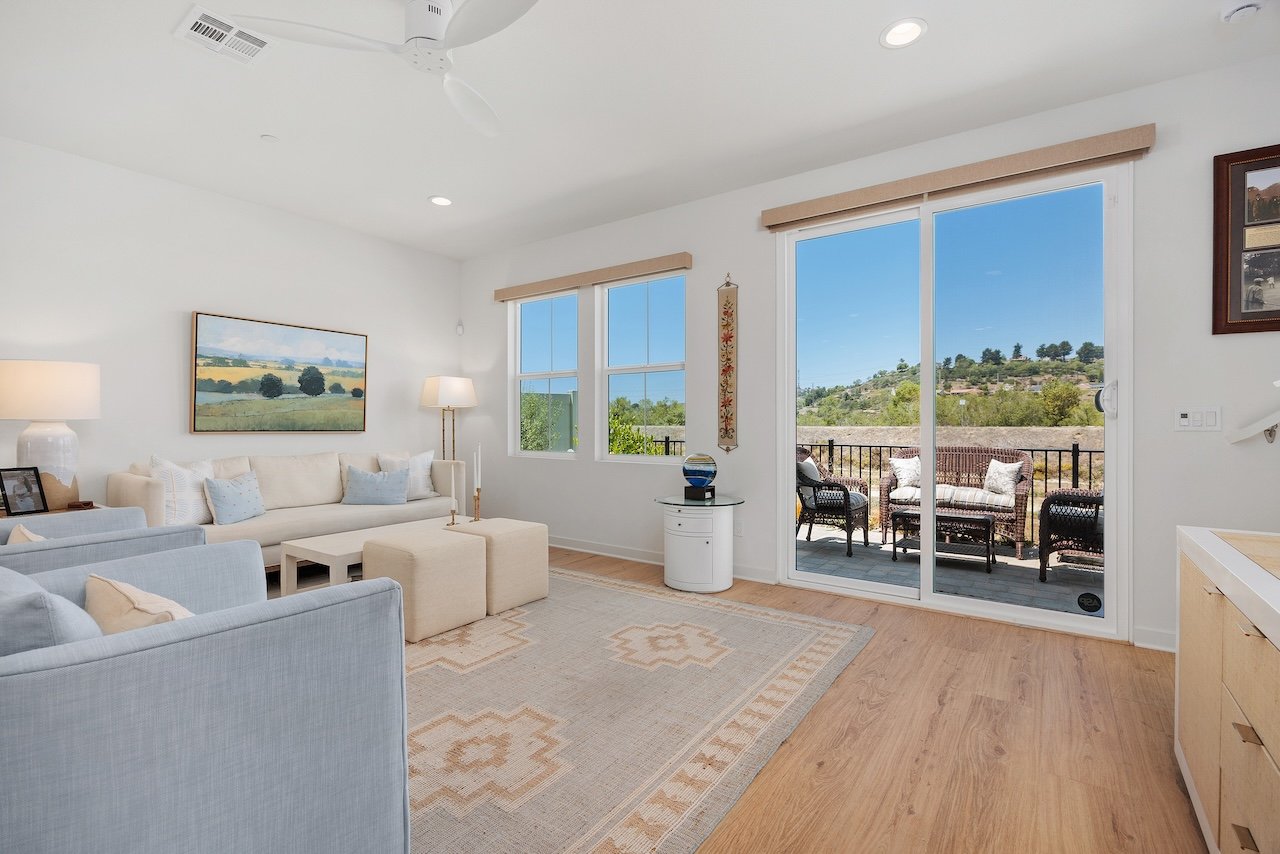
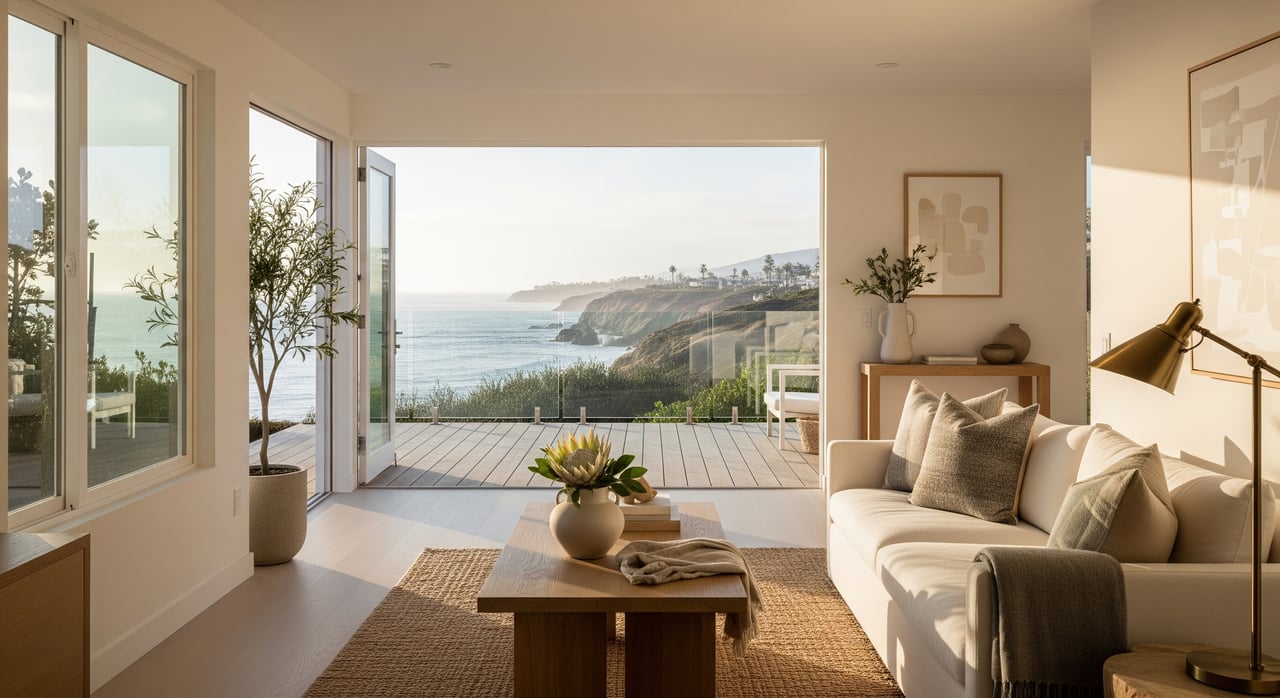
Arrange seating to face the view when possible while still allowing conversation. Use low-profile pieces if windows sit low so you never block the sightline. Keep styling light: a neutral sofa with layered textures, a few coastal-inspired cushions, and a simple coffee table vignette.
Maximize natural light. Use sheer panels mounted high and wide, and keep blinds fully open for photos and showings. Edit decor that competes with the ocean or patio beyond.
Kitchen and dining
Kitchens sell houses, so keep counters clear and appliances spotless. Display a few quality items like a wood cutting board or a single cookbook. A bowl of citrus or a small succulent adds life without clutter.
If there’s a view from the breakfast nook or dining area, set a simple table to frame that moment as a destination. Show storage by tucking small appliances away and lining up cabinets neatly.
Primary bedroom
Create a calm retreat. Use crisp bedding in cotton or linen, a restrained number of pillows, and soft layers for texture. If the room has an ocean view or balcony, position the bed or seating to showcase it.
Declutter closets to signal space. Make sure paths to any outdoor access are clear and inviting.
Bathrooms
Deep clean and refresh worn grout or hardware as needed. Keep counters clear and bring in neutral towels. Use one or two decor items and a small plant to add freshness without busyness.
Home office or flex space
Stage with purpose and flexibility. A clean desk, a comfortable chair, and a reading lamp can show utility without shrinking the room. If the home skews toward lifestyle buyers, consider a reading nook or den setup based on what suits the space best.
Outdoor spaces, patios, and decks
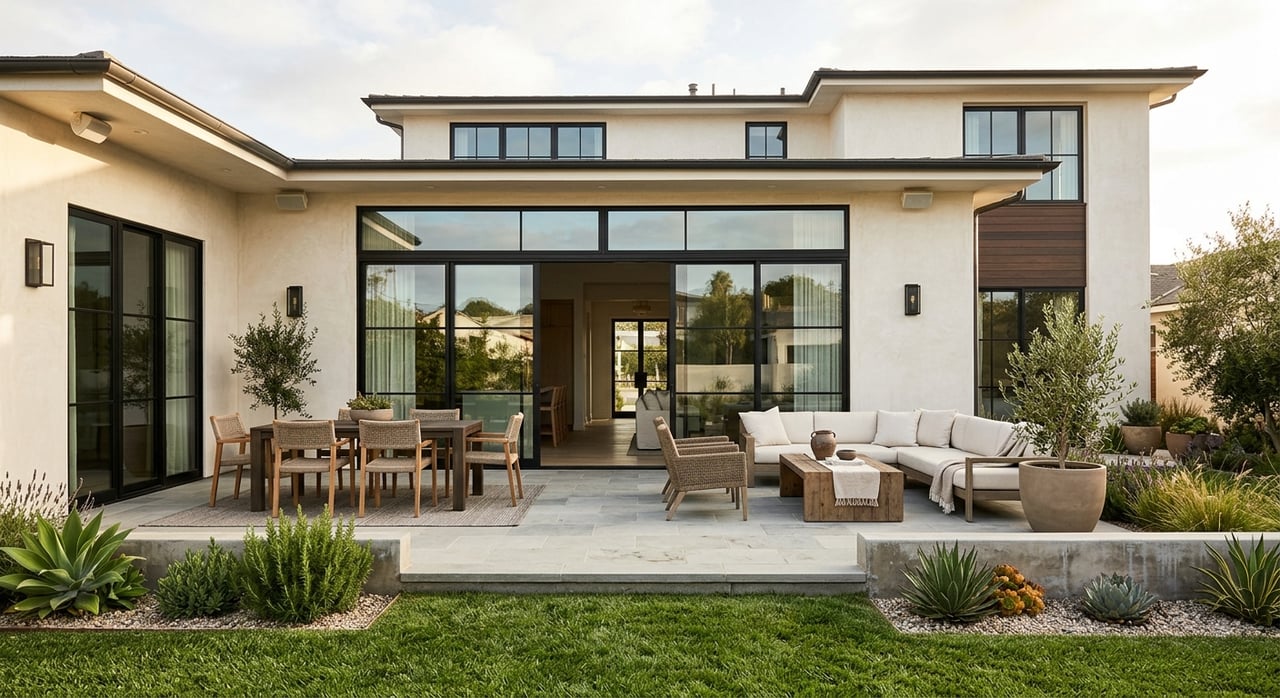
Outdoor living is critical in a coastal market. Treat patios and decks as additional rooms. Use right-sized furniture, define zones with outdoor rugs, and show a dining vignette if space allows.
Add healthy, drought-tolerant plants and soft lighting for twilight showings. Keep pathways tidy and ensure access to views is clear and safe.
Curb appeal and landscaping
First impressions start at the street. Keep landscaping tidy with low-water, salt-tolerant plants. Pressure-wash paths, clean windows, touch up paint at the front door, and make sure house numbers are visible.
If any hedges or trees block the view, trim them to open sightlines. Avoid over-planting that distracts from the home.
Special coastal considerations
- Avoid heavy, dark drapery that traps light.
- Use rust-resistant and powder-coated hardware and fixtures.
- Maintain clean window glass to remove salt residue and boost brightness.
- Show storage for surfboards, bikes, and wet gear. If storage is tight, consider off-site solutions and highlight the home’s best lifestyle features.
2-3 week prep timeline
Use this simple plan to go from walk-through to photo-ready without stress. Many steps can happen in parallel, but keep the order so staging lands right before photography.
Week 3: Plan and prep
- Walk the property to decide on staging level: full, partial, or consultative.
- Build the vendor list and place orders: stager, photographer, handyman, cleaners, window cleaners, landscaper.
- Start decluttering and depersonalizing: pack personal photos and excess decor, clear closets and counters.
- Order materials: neutral paint, consistent lightbulbs, updated hardware, and fresh house numbers if needed.
Week 2: Refresh and install
- Complete paint and minor repairs early in the week so smells dissipate.
- Schedule professional cleaning after repairs and painting.
- Tidy landscaping, trim plants, and pressure wash as needed.
- Deliver and install staging rentals after cleaning, leaving at least 24 hours for adjustments before photos.
- Confirm photographer date and any twilight or drone needs, and secure permissions when required.
- Do a final walk-through to fine-tune pillows, towels, table settings, and curb appeal details.
Days 1-3 before photography
- Final clean of windows, mirrors, and glass surfaces.
- Remove trash bins, cars blocking the facade, and any temporary materials.
- Dress the scene with fresh greenery, set a comfortable thermostat, and hide cords and remotes.
- Ensure consistent bulb color and set dimmers for balanced light.
Photography day
- Schedule interior photos for natural light, and consider golden hour or twilight for exteriors with ocean aspects.
- Open sliders or bi-folds where safe to show indoor-outdoor flow.
- If using a drone, confirm operator credentials and follow local and FAA rules.
After photography and first week on market
- Review images for any missed details and correct quickly.
- Keep the staged look consistent for showings. If you use a hybrid approach, maintain key vignettes in primary rooms and outdoor spaces.
Smooth vendor coordination
A little structure goes a long way. Keep a vetted list of stagers, rental partners, cleaners, photographers, landscapers, and handymen who understand coastal homes. Confirm insurance and any access permissions in advance.
Use a shared calendar with the seller and vendors to track delivery windows, repair dates, cleaning, staging, and photography. Book staging rentals 10-21 days ahead in peak seasons and confirm load-in paths and parking for trucks. Build in buffers for weather-sensitive outdoor work and have backup rental pieces available if needed.
On staging day, work from a floor plan that matches furniture scale to room size. Protect floors during install. After the stylist finishes, do a final checklist pass focused on sightlines, safe access to patios and decks, and light levels.
Get the photos right
Provide your photographer with a concise shot list: wide interiors showing flow and views, details of premium finishes, outdoor living vignettes, and key lifestyle moments like an open kitchen island or balcony seating. Schedule drone shots if they help communicate distance to the shoreline and the lot’s orientation, and only when permitted.
Style for motion and light. Open doors to connect indoors and out, clear reflections in mirrors and glass, and hide electronics. For ocean-facing homes, twilight exteriors can add warmth and ambiance.
Measure what works
Track a few simple metrics to understand the impact of staging and visual marketing:
- Days on market compared to similar unstaged listings.
- Number of showings and inquiries in the first week.
- Price performance relative to list and recent comparable sales.
- Cost of staging and prep versus the perceived market benefit.
Use these data points to guide future decisions. Treat staging as an investment decision and focus spend on repairs and rooms that drive the most value.
Ready to list in Solana Beach?
If you want buyers to feel the ocean, the light, and the lifestyle from the first step inside, thoughtful staging is your fastest path. Start with a neutral base, open the sightlines, and let your outdoor spaces shine. A clear plan, skilled vendors, and strategic photography will carry your home from prep to offer with less stress.
If you would like a hands-on partner to coordinate staging, vendors, and premium marketing, reach out to Colucci & Co.. Book a complimentary consultation and we’ll create a tailored plan for your Solana Beach sale.
FAQs
How long does staging take for a Solana Beach listing?
- Plan on 2-3 weeks from initial walk-through to photography, with staging installation happening after cleaning and before photos.
Do I need to stage outdoor areas in a coastal market?
- Yes. Patios and decks are critical in Solana Beach. Treat them as extra living rooms with seating, dining, healthy plants, and soft lighting.
What paint colors work best for coastal homes here?
- Light, neutral tones like soft white, warm greige, and pale sand show more light and keep the focus on views. Use coastal accents sparingly.
Can I use virtual staging instead of physical furniture?
- Virtual staging helps with vacant or dated interiors, but it must not misrepresent room size, layout, or views. Follow MLS and local disclosure rules.
What materials hold up to marine air and salt exposure?
- Choose performance fabrics, powder-coated or rust-resistant metals, and durable outdoor-grade products that handle humidity and salt.
How should I handle HOA and city rules during staging and open houses?
- Confirm rules for signage, parking, vendor access, and any drone permits before scheduling deliveries and photography. Compliance avoids delays.